
Originally published June 30, 2026. Updated October 28, 2026 with a phased room-by-room checklist, current EPA and OSHA guidance, and what post-construction cleaning actually costs in the Lehigh Valley.
What a post-renovation cleanup actually involves
A renovation leaves more than dust. It leaves drywall compound that has walked through every doorway, paint overspray on glass that nobody caught until the protective film came off, adhesive residue on floors, and a fine grey powder that settles on the top of every horizontal surface in the building for days after the crew packs up. Getting a home or a commercial space back to a livable, occupiable condition takes more than a damp cloth and a weekend.
Professional post-construction cleaning generally happens in three passes, and each one has a different purpose.
- Rough clean clears bulk debris, packaging and heavy dust while the site is still active. It is not a final clean and it should not be judged like one.
- Final clean is the detailed pass. It happens after the dust-producing trades are finished, and it is the pass that determines whether a space is ready to be occupied.
- Touch-up clean happens after the punch list. Paint touch-ups and hardware swaps create new marks, and fine dust keeps resettling for days, so a space that looked perfect on the day of the final clean often does not look perfect a week later.
The checklist below is organized the same way, because skipping a phase is the single most common reason a post-renovation cleanup gets redone. It works for a house, a condo, a small office suite or a retail space. Where the guidance differs by building type, we say so.
Before you start: six things to settle first
Most cleanup disputes trace back to a scope nobody wrote down. Before a single cloth comes out, get these answered in writing, whoever is doing the work.
- Which rooms are in scope, and which are not. Basements, closets, garages, exterior glass and high spaces above a certain height are the usual casualties of an ambiguous scope. Name them.
- Who removes the debris. Large material, scrap, pallets and trade equipment are the general contractor's job, not the cleaner's. Decide that on the front end.
- Is the space actually finished? If a trade is coming back, the clean either waits or the finished areas get protected. Painting and flooring crews create more dust than almost anything else you will do.
- What surfaces need a product other than neutral cleaner? Sealed floors, new stone, brass hardware, soft-touch laminate and warranty-backed finishes all have their own rules. The finish manufacturer instructions come first.
- Power, water and lighting. A crew working in the dark with a machine plugged into an extension cord is working slower than you are paying for.
- Who signs off, and when. Agree on a walkthrough date and who has the authority to accept the work. A checklist ticked in one pen at the end of the last day tells the owner a form was filled in. It does not tell them the space is clean.
One more practical item: if anyone in the household has asthma or a respiratory condition, move the cleaning into a well-ventilated window and keep them out of the work area until it is done. Fine construction dust is a genuine irritant, and the EPA recommends continued ventilation for at least 72 hours after installing flooring, carpet or paint finishes, because those materials off-gas as they cure. EPA's guide to indoor air quality during a remodel covers the details.
Phase 1: the rough clean
The rough clean is about volume, not finish. Get it done while the site is still workable, because it is much harder to haul out drywall scraps later when a finished floor is in the way.
- Bag and remove packaging, cardboard, protective film, labels and leftover materials. Separate anything recyclable.
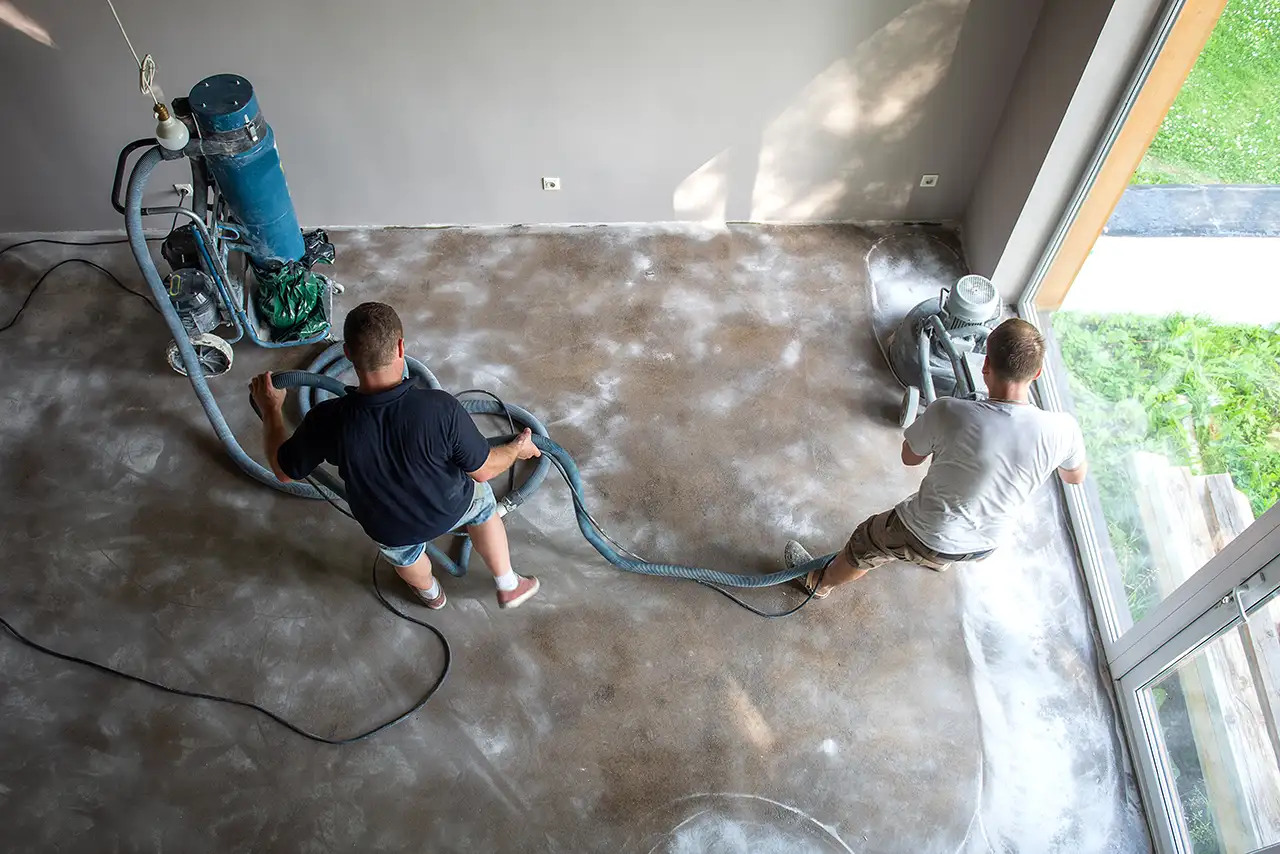
- Vacuum bulk dust off floors. Do not dry sweep it. OSHA's construction silica standard specifically prohibits dry sweeping and dry brushing where the activity could contribute to respirable crystalline silica exposure, and names HEPA-filtered vacuuming and wet methods as the alternatives. That rule is written for contractors, but the physics applies to a weekend in a house too. 29 CFR 1926.1153 sets out the housekeeping requirements.
- Pull heavy dust off ledges, beams, the tops of door frames and window frames. This is where most of the mass sits and where a lot of people skip, because it requires a ladder.
- Scrape or vacuum loose drywall mud and paint spatter off the floor before anyone walks it in. Once it is ground into a sealed floor, it is a different problem.
- Leave floor protection and door covers in place for any trade still working.
Phase 2: the final clean
The final clean is done top to bottom and from the back of the room toward the door. Working in the other direction means the dust you just removed from the ceiling falls onto the floor you already cleaned. Within each room, high to low, back to front.
Ceilings and high surfaces
- Light fixtures, lenses, diffusers and ceiling fans. Dust only on sprinkler heads, never sprayed and never knocked.
- Return grilles, exhaust fans, HVAC diffusers and supply registers.
- Exposed ductwork, pipes, beams and the tops of wall cabinets.
- Top edges of doors, door frames, shelving and any partition walls.
Walls, doors and trim
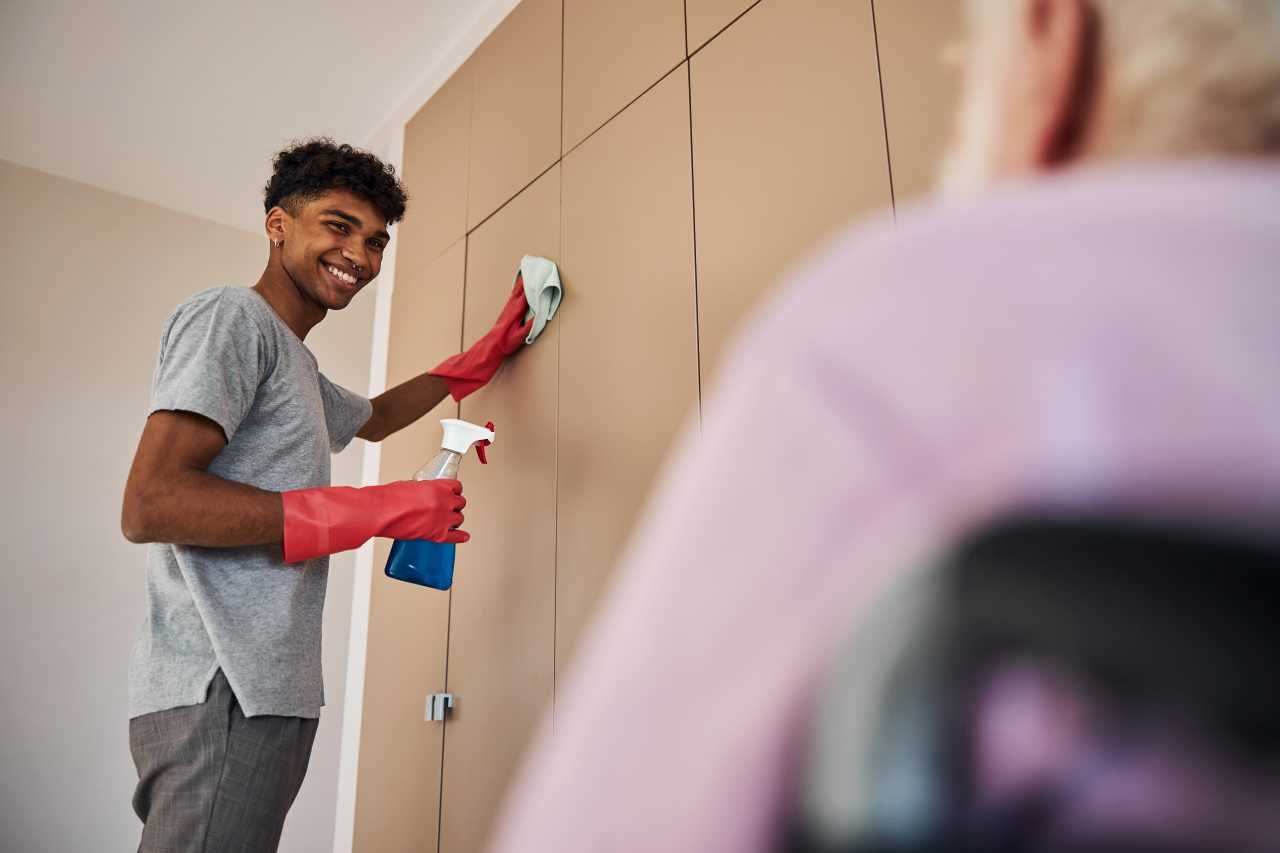
- Spot-clean for scuffs, fingerprints and drywall dust, then wipe down switch plates, outlet covers and thermostats.
- Remove tape, stickers, labels and protective film without scratching the finish underneath.
- Clean door faces, edges, hinges and kick plates.
- Baseboards and the lower few inches of wall, which collect a disproportionate amount of paint spatter and mud.
Windows, mirrors and glass
- Interior glass, mirrors, doors, sidelights and glass partitions that are in scope.
- Remove paint, caulk and adhesive from glass with the right method for the coating. On tempered or coated glass, test first.
- Vacuum and wipe window tracks and sills. Tracks are the single most commonly missed item on a final clean, and they are the first thing an owner sees when they open a window.
- Blinds and shades if they were left in place during the work.
Kitchen
- Inside and outside of cabinets, drawers and drawer slides. Check the top edge of every uppers door, because that is where dust sits and where the finish shows it.
- Countertops and backsplash. Remove any paint or adhesive drips before they cure.
- Appliances inside and out, including the removal of factory film.
- Sinks and faucets polished dry, not left wet.
Bathrooms
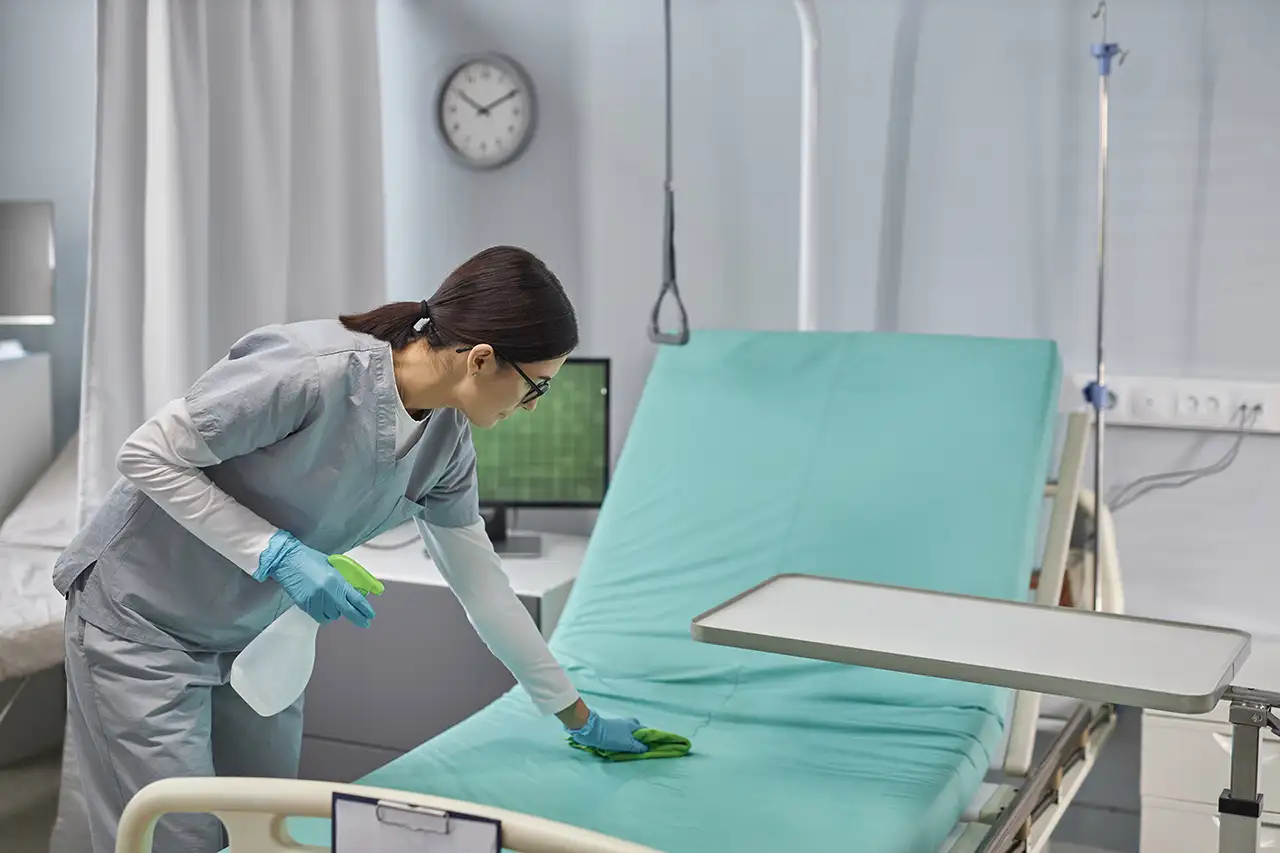
- Fixtures, partitions, dispensers, grab bars and accessories cleaned and disinfected.
- Grout haze and construction residue off tile, and caulk residue and sealant smears off the joints.
- Floor drains cleared and the room left dry. A bathroom that is still damp on handover day grows mold in the week before anyone moves in.
Floors, by material
- Carpet and rugs: vacuum with a HEPA filter, edges and corners included. If there is new carpet, confirm who is responsible for the initial manufacturer-required cleaning, because it usually falls to the owner, not the cleaning crew.
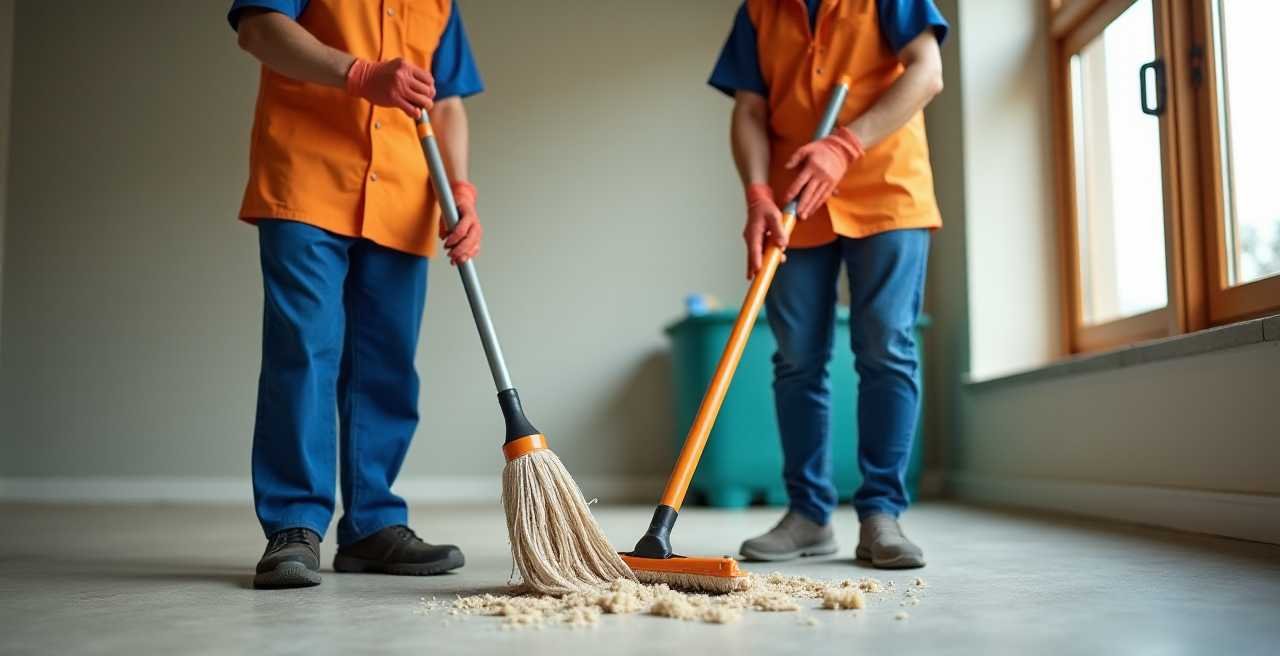
- Tile, stone and VCT: vacuum, then mop with a cleaner appropriate to the finish. Remove paint, adhesive and grout haze. Check the transitions and thresholds where grit collects.
- Hardwood and engineered wood: vacuum and damp mop only, never soaking. New sealed floors should be cleaned according to the finish manufacturer's instructions so the warranty is not voided.
- Polished concrete and sealed floors: confirm with the specialty contractor who holds the finish warranty whether stripping, waxing or coating is part of their scope. The specification usually names who performs it, and it is often not the cleaning crew.
Heating, ventilation and air
Filters on operating equipment cleaned or replaced, and HVAC systems given a rinse if the project involved significant dust. The ductwork in a renovation is where a surprising amount of the dust ends up, and it comes back into the room the first time the heat comes on.
Phase 3: the touch-up clean
This is the pass people skip, and it is the pass that determines whether the owner is happy. Fine dust keeps settling for days after the work stops, and punch-list repairs create fresh marks. Schedule the touch-up shortly before the walkthrough, the inspection or the move-in, not the week after.
- Re-dust horizontal surfaces, since that is where the resettled dust lands.
- Clean up after every punch-list repair: paint touch-ups, swapped ceiling tiles, adjusted hardware.
- Re-vacuum and spot-clean the floors that the inspection party and the movers walked on.
- Walk every room against the final checklist and photograph it as you go.
What gets missed most
Across a lot of these jobs, the same short list of items comes back every time, and the same pattern shows up in office buildings, where our guide to commonly missed areas in office cleaning breaks the commercial version of the list down in more detail.
- Window tracks and the underside of window sills.
- The tops of cabinet doors, above eye level where nobody looks.
- Behind and underneath appliances that were moved and never pushed back.
- Grout haze on new tile, which reads as "dirty floor" rather than "unfinished floor" and gets blamed on the wrong trade.
- Drawer slides and the runners inside the drawers.
- Baseboards behind open doors, and the trim on the hinge side of the door.
- Light switch plates and outlet covers, which are touched by everyone and cleaned by no one.
- Returns, grilles and the top of the refrigerator, which is also where the household puts things.
If the home was built before 1978: lead dust and clearance
This is the part of post-renovation cleanup that a generic checklist leaves out. If the home was built before 1978, it may contain lead-based paint, and renovation work that disturbs painted surfaces can create lead dust. EPA's Renovation, Repair and Painting (RRP) rule requires contractors doing that work in pre-1978 housing to be certified and to follow lead-safe work practices, which include wet methods, HEPA vacuuming, no open-flame burning, and a cleaning verification at the end of the job.
Cleaning verification means a certified renovator visually inspects the work area to confirm it is free of dust, debris and residue, then wipes the dust collection surfaces (window sills, countertops, floors) with a wet disposable cloth and compares it to a cleaning verification card.
If clearance testing is required, it is done by a certified lead inspector, risk assessor or dust sampling technician. The current thresholds are what EPA calls the dust-lead action levels, which took effect January 12, 2026 and replaced the older clearance levels:
- Floors: 5 micrograms per square foot
- Window sills: 40 micrograms per square foot
- Window troughs: 100 micrograms per square foot
Federal assistance programs such as HUD require clearance testing after renovation in pre-1978 homes, and some states and localities require it as well. The EPA guidance, Steps to Lead Safe Renovation, Repair and Painting, is worth reading before the project starts rather than after the first failed test.
Water damage and mold during a renovation
Any project that opens up walls or roofs can find moisture that was never visible before. The CDC is direct about the order of operations: fix the moisture source first, dry or remove wet materials within 24 to 48 hours, and clean up as soon as possible. Bleach does not solve a mold problem on its own, and it should never be mixed with ammonia or other cleaners.
There is no health-based standard for mold in indoor air, so CDC and NIOSH do not recommend routine air sampling. A thorough visual inspection and a musty odor are more reliable indicators than a spore count, and a short-term sample that comes back negative often does not represent real exposure. EPA's own mold guidance is blunt that a biocide such as chlorine bleach is not recommended as a routine practice during remediation, since dead mold is still allergenic and the cleanup, not the killing, is what matters. If a large area of material has been affected, the EPA's Mold Remediation in Schools and Commercial Buildings Guide is the right reference, and it applies to any building type.
When it makes sense to hire a crew instead
Some jobs are honestly a weekend's work. If you have one bathroom, no flooring replacement and no paint on the windows, do it yourself. A dedicated post-construction cleaning company earns its cost when the project involves any of these:
- More than one trade was in the space, so dust was generated after each visit.
- There is new glass, stone, sealed flooring or finished hardware that a wrong product could damage.
- The space needs to be occupiable on a date that cannot slip, such as a scheduled inspection, a tenant move-in or a reopening.
- There is pre-1978 construction involved and lead-safe work practices need to be followed.
- Nobody on site has a HEPA vacuum, or has time to move a house out of the way and clean underneath it.
On pricing, the honest range for post-construction cleaning in this market is $0.10 to $0.30 per square foot, depending on condition, scope and how much debris is still in the space. That figure is a planning range, not a quote. Our commercial cleaning pricing page breaks down how square footage, frequency, building type and scope each move the number, and what post-construction work typically gets quoted per project.
Before you sign anything, ask these questions. The answers separate a real scope from a thin one:
- Which phases are included, in writing: rough, final, touch-up?
- Which surfaces are in scope, and which are explicitly excluded?
- How many passes are guaranteed, and what triggers a re-clean?
- What is the equipment standard? A HEPA vacuum is not optional on a dusty job, and a shop vac recirculates what it picks up.
- How is the punch-list touch-up handled, and who pays for it?
- Who signs off each area, and on what date?
Our guide to evaluating a commercial cleaning service goes deeper on how to compare quotes without comparing apples to oranges, and what a post-construction clean-up covers breaks the scope down line by line.
Questions people ask us most
How long does a post-renovation cleanup take?
For a single bathroom or a small kitchen refresh, a competent homeowner can handle the final clean in a day or two. A full gut renovation of a home or a small commercial space is usually a multi-day job for a crew, because the detail work on glass, cabinetry, grout and floors is what takes the time. Debris removal and rough cleaning are usually the fastest part.
How long after a renovation can you move in?
Once the trades are done and the space has been cleaned. Beyond that, EPA recommends continued ventilation for at least 72 hours after installing flooring, carpet, paint or sealers, because those materials off-gas as they cure. If anyone in the house is pregnant, has asthma, or is a child under six, give it the full 72 hours and consider running air cleaners in the meantime.
Do you need to sanitize after a renovation?
Disinfection is worth doing on high-touch surfaces such as doorknobs, switch plates, pulls, countertop edges and bathroom fixtures, but it is a different job from cleaning. Dust removal first, then disinfection, in that order. Disinfecting over dust just spreads the dust around with a wet cloth.
Can you clean up the damage from the renovation too?
Not all of it, and it is important to separate the two lists. Paint on the glass, adhesive on a window frame and dust on a light switch are cleaning items. A chipped countertop, a cracked tile or a cabinet door that no longer closes is a construction defect, and it belongs to the contractor. Mixing them on one list delays both, because the trade and the cleaning crew end up waiting on each other.
Should the HVAC system be cleaned after a renovation?
At minimum, replace the filters. Systems that ran through a renovation are pulling a lot of dust into the ducts, and the first time the heat comes on, that dust resurfaces on every surface in the room. Duct cleaning is worth it for a large gut renovation or any project that involved significant demolition.
How do I know the cleanup was actually done properly?
Look at the misses list above. If window tracks are dusty, the tops of the cabinet doors are coated, and the floors near the wall still have grit in the edges, the final clean was rushed. In a professional job, you should also be getting a room-by-room record of what was cleaned, when, and who inspected it.
Get a quote for your space
Clean Horizons has provided commercial cleaning and post-construction cleanup across the Lehigh Valley for more than 20 years, from our base in Catasauqua. We work in Allentown, Bethlehem, Easton, Emmaus, Macungie, Quakertown, Fogelsville and the surrounding Tri-County area. Our crews are employees, not subcontractors, they are background-checked, and they use HEPA-filtered vacuums and microfiber equipment on every post-construction job.
Request a free quote and tell us what was renovated. We will walk the space before quoting, which is the fastest way to get an accurate number, and it means nobody is guessing at scope on your invoice.